I started today with a little iron work. I pressed all the seam allowances of the taffeta layer toward the way the directions instruct. Then did the same with the lining layer.
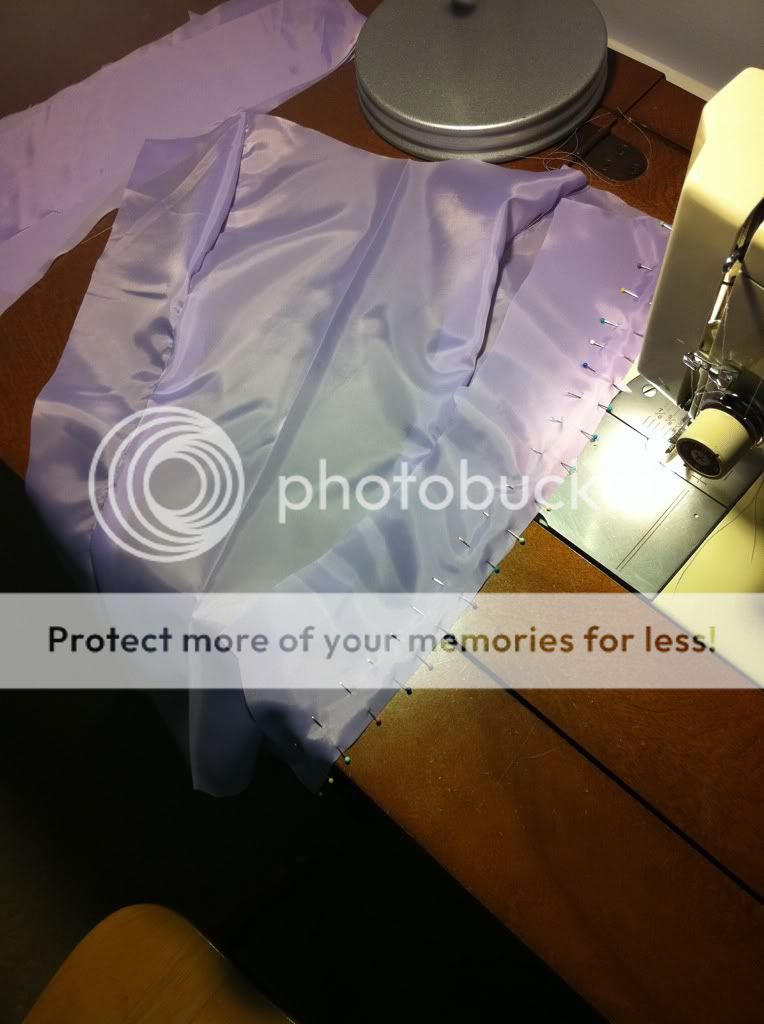
Just like the seam allowances of the taffeta, those of the lining are likely to fray as well (and are already displaying signs of doing such). But remember, I need to actually topstitch the lining's seam allowances down to form the channels for the boning to run through. My thought is to attempt to do both things at once, by using the zig-zag stitch through the seam allowance and the lining. Yes, that means those zig-zags will show on the lining, but I can live with that. And I think it's kinda decorative.
But since zig-zag stitching is denser (meaning the needle pierces the fabric more often) than just a straight line of stitches, I want to offer the material all the support I can. So in this instance, I'm going to put tissue paper in between the seam allowance and the lining and sew through all of it.
It's kind of complicated, especially on the curves to keep the tissue paper appropriately placed and to make sure everything lays flat against the under layer, but by taking it slow and readjusting often, it comes out in a way that I'm happy with!
I also folded under the outer edges by 5/8" and pressed them, then applied the same technique to zig-zag stitch these edges down, creating 2 more channels for boning. All this zig-zag stitching has used up all my Light Violet thread, so I need to get more.
With right sides together, I pinned the taffeta and lining layers together across the top only. In the mock up I did both the top and bottom, but remember that I need to leave access to embroider the taffeta layer. By stitching the 2 layers together, this will give my mom a finished top edge to embroider under.
Before I flip the 2 layers so the right sides are out, I reinforced the curve of the sweetheart neckline. Remember, this is one of the lessons I learned when I made the mock up that I said I'd elaborate on later. Well, now is time for later. I reinforce it the same way I reinforced the edges of the front center piece - by stitching another line 1/8" into the seam allowance. This line of stitches looks lighter below because I ran out of Light Violet thread and am using the Lavender Bliss (which is better matched to the taffeta than the lining, but once I fold this over, you won't be able to see it).
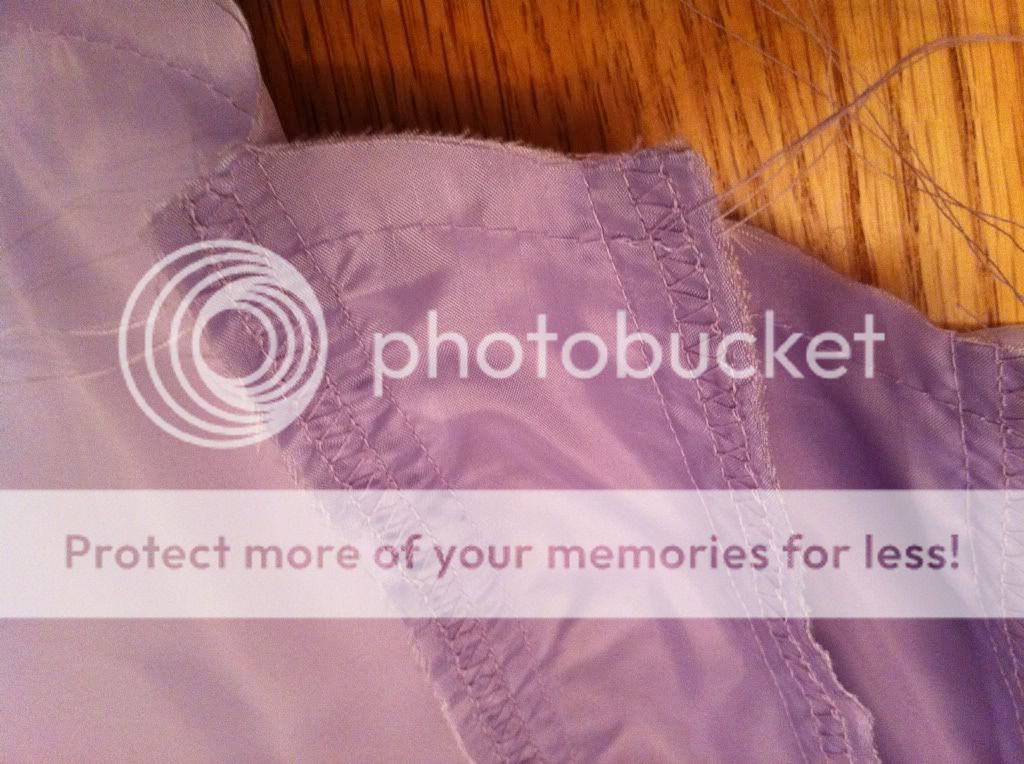
Just like the seam allowances of the taffeta, those of the lining are likely to fray as well (and are already displaying signs of doing such). But remember, I need to actually topstitch the lining's seam allowances down to form the channels for the boning to run through. My thought is to attempt to do both things at once, by using the zig-zag stitch through the seam allowance and the lining. Yes, that means those zig-zags will show on the lining, but I can live with that. And I think it's kinda decorative.
But since zig-zag stitching is denser (meaning the needle pierces the fabric more often) than just a straight line of stitches, I want to offer the material all the support I can. So in this instance, I'm going to put tissue paper in between the seam allowance and the lining and sew through all of it.
 |
| The white tissue paper on the left, comes under the seam allowance I'm sewing through all 4 layers (2 layers of seam allowance, 1 tissue paper and 1 of the lining underneath) |
 |
| To make sure I leave 3/8" of space for the channel, I played with the stitch length of the zig-zag A length of 3 and running the material with the seam allowance edge just under the left edge of the foot lined everything up perfectly. |
It's kind of complicated, especially on the curves to keep the tissue paper appropriately placed and to make sure everything lays flat against the under layer, but by taking it slow and readjusting often, it comes out in a way that I'm happy with!
 |
| The tissue paper tears away easily-the stitching acts to perforate the paper |
I also folded under the outer edges by 5/8" and pressed them, then applied the same technique to zig-zag stitch these edges down, creating 2 more channels for boning. All this zig-zag stitching has used up all my Light Violet thread, so I need to get more.
With right sides together, I pinned the taffeta and lining layers together across the top only. In the mock up I did both the top and bottom, but remember that I need to leave access to embroider the taffeta layer. By stitching the 2 layers together, this will give my mom a finished top edge to embroider under.
 |
| 2 layers stitched together. This is the wrong side of the lining side. |
Before I flip the 2 layers so the right sides are out, I reinforced the curve of the sweetheart neckline. Remember, this is one of the lessons I learned when I made the mock up that I said I'd elaborate on later. Well, now is time for later. I reinforce it the same way I reinforced the edges of the front center piece - by stitching another line 1/8" into the seam allowance. This line of stitches looks lighter below because I ran out of Light Violet thread and am using the Lavender Bliss (which is better matched to the taffeta than the lining, but once I fold this over, you won't be able to see it).
 |
| Reinforced sweetheart neckline |
 |
| So the curve of the seam will lay flat when I flip the right sides out, I make 1/2" clips on the seam allowance |
 |
| I turned the fabric right sides out and pressed the top seam allowance |
 |
| Tada! Here's the semi-finished top |
After it's embroidered, I'll add boning, finish the 3 edges, and insert grommets.
To Do List
- Send off to mom!
- Skirt
- Beaded center embellishment
- Finish top when I get it back from mom
- Hand bead as time allows